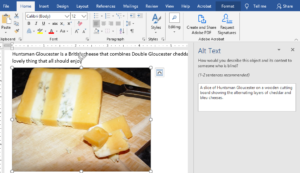
 A picture is worth 1000 words – but what if you couldn’t see the picture? Graphics can make a document more interesting and help to highlight and explain concepts. Images can also help support multimodal learners and are an integral part of Universal Design for Learning (UDL). However, for students who are blind, those images can be a barrier.
Fortunately, you can easily add alternative text (alt-text) to a graphic so that it can be read by a screen reader – allowing your students who are blind to share in the benefits of that graphic.
Here are a few tips to help get you started:
- Alt-text should provide meaningful information in the context of the document so the information you include for a given image may vary depending on how it is being used in that document.
- Alt-text should convey the same information as the graphic itself. Do not include additional information.
- Images with a large amount of information such as infographics are too complex for basic alt-text. Some tools (e.g. Adobe InDesign) let you make infographics natively accessible (check the help section of the tool). However, if you are using a pre-existing infographic or the tool does not have accessibility options, there are a number of ways to ensure that the information is available for all. You can create a transcript of the text and relevant descriptions then:
- Add the full text below the infographic – see WebAIM Web Accessibility for Designers for an example, or
- Post the transcript in a separate document and add a link directly before or after the infographic.
- Hide the text under the infographic. Note – this technique can be used for PowerPoint or Google Slides but can be problematic in Word or Google Docs.
- Use proper sentence structure including punctuation. A period at the end of the alt-text will add a pause for the screen reader and make it easier to listen to for the user.
- If you have already fully described the graphic in the document text – don’t repeat it as alt-text (or the user will have to listen to it twice) – instead, mark the graphic as decorative (many programs have a “this is decorative” checkbox) or provide a very short description.
Visit the Accessible Graphics Page for additional information and step-by-step instructions on adding alt-text to Office and Google documents. For more information and additional resources on accessibility, visit the Accessibility Resources Pages at the Center for Academic Innovation Website.
You can also use this handy Accessibility Checklist for a quick overview or to check your work. Thank you for all you do!
