Accessible Headings
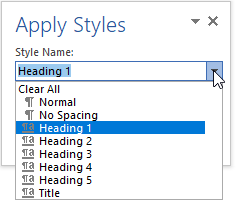
 Headers (aka tags) are part of any well-structured document. They are used to show the different sections and subsections of your page. Using headers helps your reader to easily look at a document to understand its structure and what type of information that it contains. Headings/Styles are also a function that is built into most word processing programs such as Microsoft Word and Google Docs. While you can create the visual appearance of headers using font size, type, and style (bold, italic, underline), this results in an inaccessible document! Using the Headings/Style tool makes the document structure understandable and navigable to users who have vision impairments or use voice technology to move through a document.
For example, a person who is blind can’t see the layout of a document and must rely on assistive technologies such as screen readers to help them navigate and understand a document’s structure. Using the Headings tool creates “tags” that are recognized by a screen reader so that students using screen readers can understand and move through a document – skipping to the section that they need rather than having to listen to the entire document every time they visit it.
Using headings also has benefits for you as it makes it easier to organize information and create a consistent look across your document. By using the Heading/Styles feature, you can easily create and change the look of your document without having to go back and change each heading individually. You can also automatically generate a Table of Contents for your document with a few easy clicks!
Things to keep in mind: 
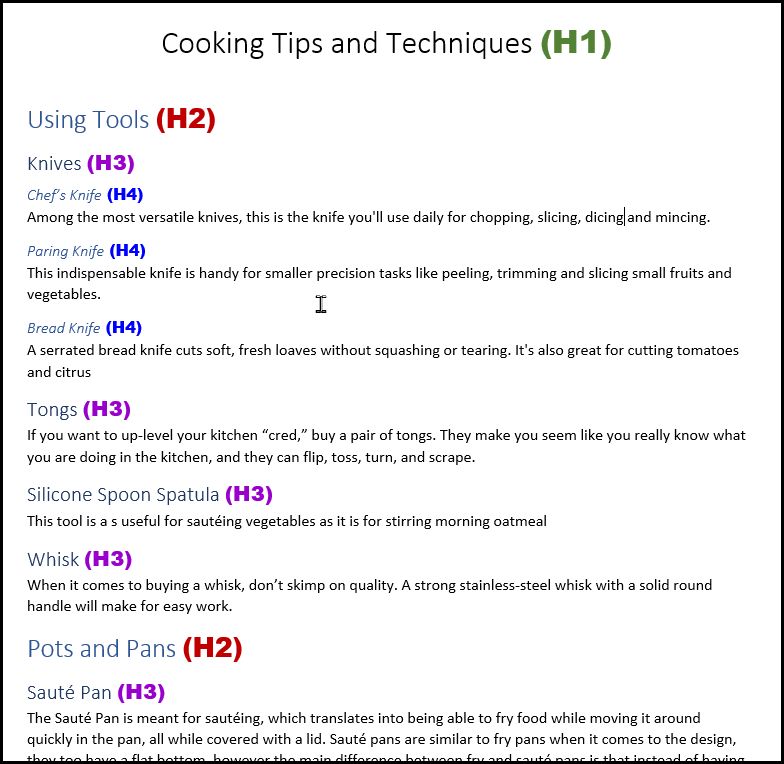
- Don’t use the “Title” style (Title – has a different meaning on websites so it confuses the screen reader) – start your document with “Heading 1” (H1) and work your way down through the heading numbers (H1, H2 H3 etc.)
- “Heading 1” should function as the document title or as chapter headings for long, book-like documents.
- Don’t skip headings – this confuses screen readers – for example: H3s should be nested under a H2 and H4s under a H3. A H4 should not be nested directly under a H2.
- In PowerPoint and Google Slides, the “Title” on each page serves as the header for that slide.
Tips and Tricks
- Automated accessibility checkers are dumb – they do not understand the text and can only make their best guess on whether something should be a header or not – you should always check that your headings are correct yourself.
- You can easily check that all of your headings are included and ordered by using the outline view (built into your program) to see the document structure. This makes it simple to see if everything is included and properly nested.
- You can quickly change the look and feel of your document by changing a Heading then using the update style function to change all of the same headings to match.
- You can effortlessly generate a Table of Contents if you use the Headings/Styles function of your program.
Extra Credit
- Some people with visual disabilities have difficulty reading things in Bold and Italics. Using the Strong (for bold) and Emphasis for (italics) styles in Microsoft, will allow them to easily change them to something that is easier for them to read.
